Traditional batik designs are created by placing hot wax patterns on fabric, and then dyeing the fabric. The wax resists the dye and keeps the fabric beneath the wax the original color. Dharma Trading has a colorful and fun explanation of creating batiks here.
The batik effect is easy to simulate in Photoshop, and the resulting image can be printed on fabric or used anywhere you need a seamless repeating pattern.
Part 1 — Create the background
Note: all the steps below are done in Photoshop Elements, but the process and steps are nearly the same in Photoshop.
Start by creating a mottled background. First fill the background with one of the colors you want to use. Then, add some mottling using other colors. In this example I used a spatter brush and set the size very large (around 900 pixels).
Use a few different colors to give the background some depth.
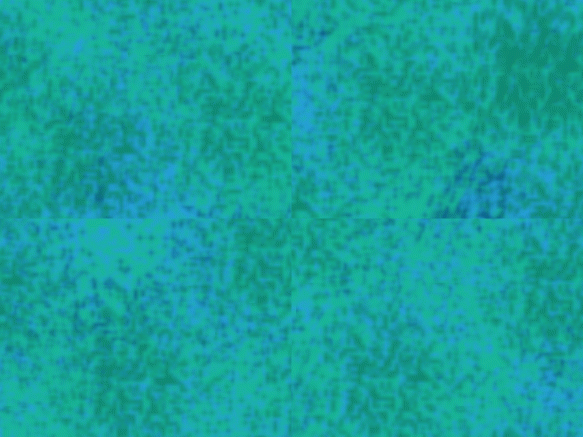
Next, using the techniques in this post, make sure the background is a repeating pattern. Below is the background after doing the command Filter ==> Other ==> Offset. The repeat lines are clearly visible through the middle of the picture.
Clean up the repeat by adding more splotches of color and doing the offset command until you’re happy with the background. Here’s the background I’m using.
Make a duplicate of the background layer in case you need to go back to it (command is Layer ==> Duplicate Layer). Hide one of the layers.
Part 2 — Create Digital “Stamps”
For the digital batik, I use Photoshop brushes for the resist effect rather than the traditional wax stamps. 
Creating a custom brush is quick in Photoshop. Open a new file in Photoshop and draw the shape you want to use for a stamp. For this example, I’m using the turtle design I created for this fabric design.
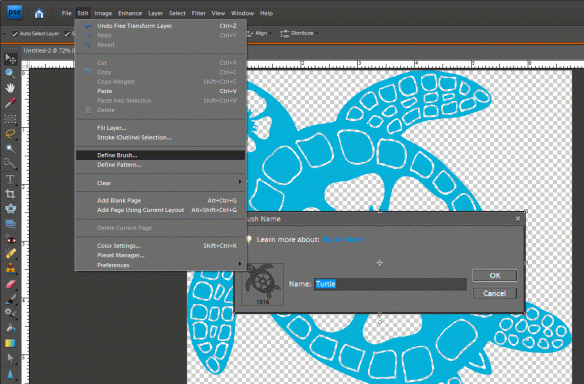
Once your design is ready, create a custom brush with the command: Edit ==> Define Brush, and then name the brush in the pop-up menu.
When you select the brush tool, your new brush will be shown in the list of brushes when you click on the brush dropdown (picture on the right).
x
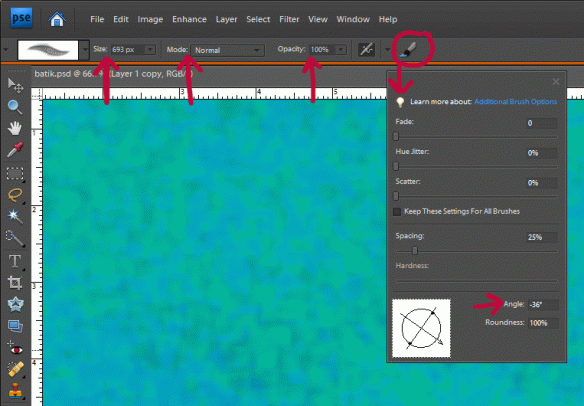
After creating a new brush, Photoshop gives you some options to manage the brush. You can change the Size, the Painting Mode, the Opacity and features of the brush, such as its angle. The screen shot below shows the location of these different options.
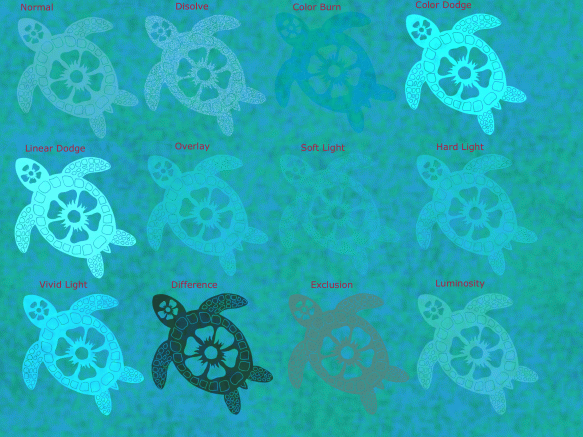
For creating a batik effect, the different painting mode options for the brushes are very useful. The different modes create very different effects. Below is an example of some of the brush painting modes. All of these were done using a light blue color for the brush, and the effects will be different using other color combinations.
x
Part 3 — Create the Digital Batik
This is the fun part. Use your new brushes to ‘stamp’ the patterns onto your background. (Just one mouse click with a brush will paint one image, or ‘stamp’, onto the layer.)
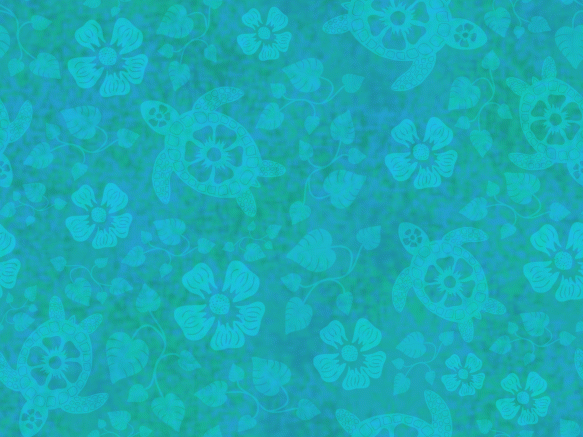
I used 3 different brushes — a turtle, a flower and leaves — and varied the size and angle of each to create the design. For all the brushes, I used a blue color from the background and a brush painting mode of “overlay”.
To make sure the pattern repeats seamlessly, follow the steps from this previous post.
Here’s my final batik (showing one repeat unit).
And here’s a repeating version.
x
And here’s an example using it as a pattern fill.
x
Love is like a batik created from many emotional colors, it is a fabric whose pattern and brightness may vary.
― Diane Ackerman, A Natural History of Love





wow, I’m so impressed!
At first I thought digital batik was a complete oxymoron but I could see doing this!
thanks for the clear directions
Beautiful design! I know it takes time and effort to put these tuts together and I really appreciate you sharing how you create such beautiful fabrics. I also have Photoshop Elements and I’m still learning about all it’s possibilities. Your creations are very inspiring. Thank you!
Thanks for the tutorial!
superbbbbbb…………..no words to describe how incredible your tutorial is…..thank you sooooo much….
Great site. You are very generous with your information. Thank You.
Wow, thanks so much! Just what I was looking for (found you through Google). I will use this method in my digital scrapbooking!
Fantastic! Thank you.